Taking great photos of steam locomotives can be a challenge! Often someone steps into the frame at the last minute or the loco is passing so quickly, it’s hard to get a decent shot. So I’m delighted to bring you a guest blog post from Colin Wallace of Railway Photography who has been taking great photos of steam trains for over 40 years.
In 1980, being a ‘trainspotter’ was a popular hobby and Colin became captivated by locomotives and railways. In 1983, with one click on his first camera, his passion for railway photography was born. If you follow Colin on Facebook or Twitter, you’re probably a fan of his amazing photos. Over to you, Colin!

Across the UK, steam trains on the mainline still represent a popular attraction. Many people love to have a ride on the steam locomotive and these trains remain a very popular part of British life. Even in photography, they have held up as a subject of interest despite their long history. Personally, steam trains are the most popular type of photography I do.
If you are wanting to get into steam train photography yourself, then I highly recommend it. With this hobby, you have found yourself an niche that should keep you both interested and busy. However, you may be unsure where to start, or not be familiar with the key steps of good steam train photography. Well, have no fear – I am here to help point you in the right direction!
Where To Photograph Trains
Something that sets steam train photography apart from other popular photography subjects is that you can not just turn up to an area and assume you will be able to take your pics. Because of the nature of steam trains, you will need to know where and when they are running in order to plan your shoot accordingly.
There are some good websites help you to do this. One of them is the Railway Herald website. There is also another popular site called UK Steam. Both of these helpful websites that inform you of the date, time and location steam trains will be making an appearance. These websites are a valuable resource for train photographers.
Picking A Great Location
It’s extremely important to stay safe and follow the rules when picking a location. Do not trespass onto the track. This is for your own safety and also others around you.
Once you have defined the route of your tour you can then make the final preparations to photograph your trains. If your destination is within your local area there is a good chance you may already know some good locations to photograph. If you find yourself a bit further away, do some research online beforehand to discover some great spots to take your photographs. A top tip is to search Google with the place name you are visiting to see what photographs other people have taken at a particular spot. For example, try searching ‘trains at Dawlish’ to see where people have gone to take photos when in that area.
At your chosen location you may find that the loco is working particularly hard and throwing out a lot of steam and smoke. This is great! It can make for some truly dynamic and interesting photos.
You’ll also want to be aware of ‘people traffic’ as some places will be very crowded. With this in mind, it’ll be a smart move to be at your chosen spot at least an hour before the tour is scheduled to begin. This will give you the best chances of getting to stand where you want to.
Railway Backgrounds
Don’t get so wrapped up in capturing that steam train that you forget about the background! A good background can set a photograph off in all sorts of interesting directions. Backgrounds can add depth or provide an intriguing perspective to your main subject. Because of the times we live in, certain backgrounds are going to be so much more common, for example, modern-day buildings. But why not look for backgrounds that offer something a little different, for instance, beautiful landscapes, or the sea. If the trains tour happens to go over a viaduct then that will make for a wonderful background.

Photo Composition
Front and to the side
This is the most popular composition for any type of train photography. You will capture the train coming towards you, with any nearby countryside providing a nice level of context.
Side on
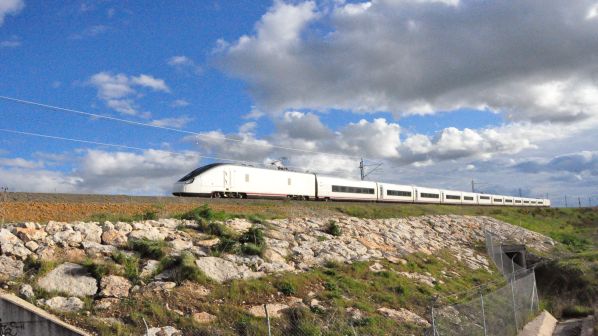
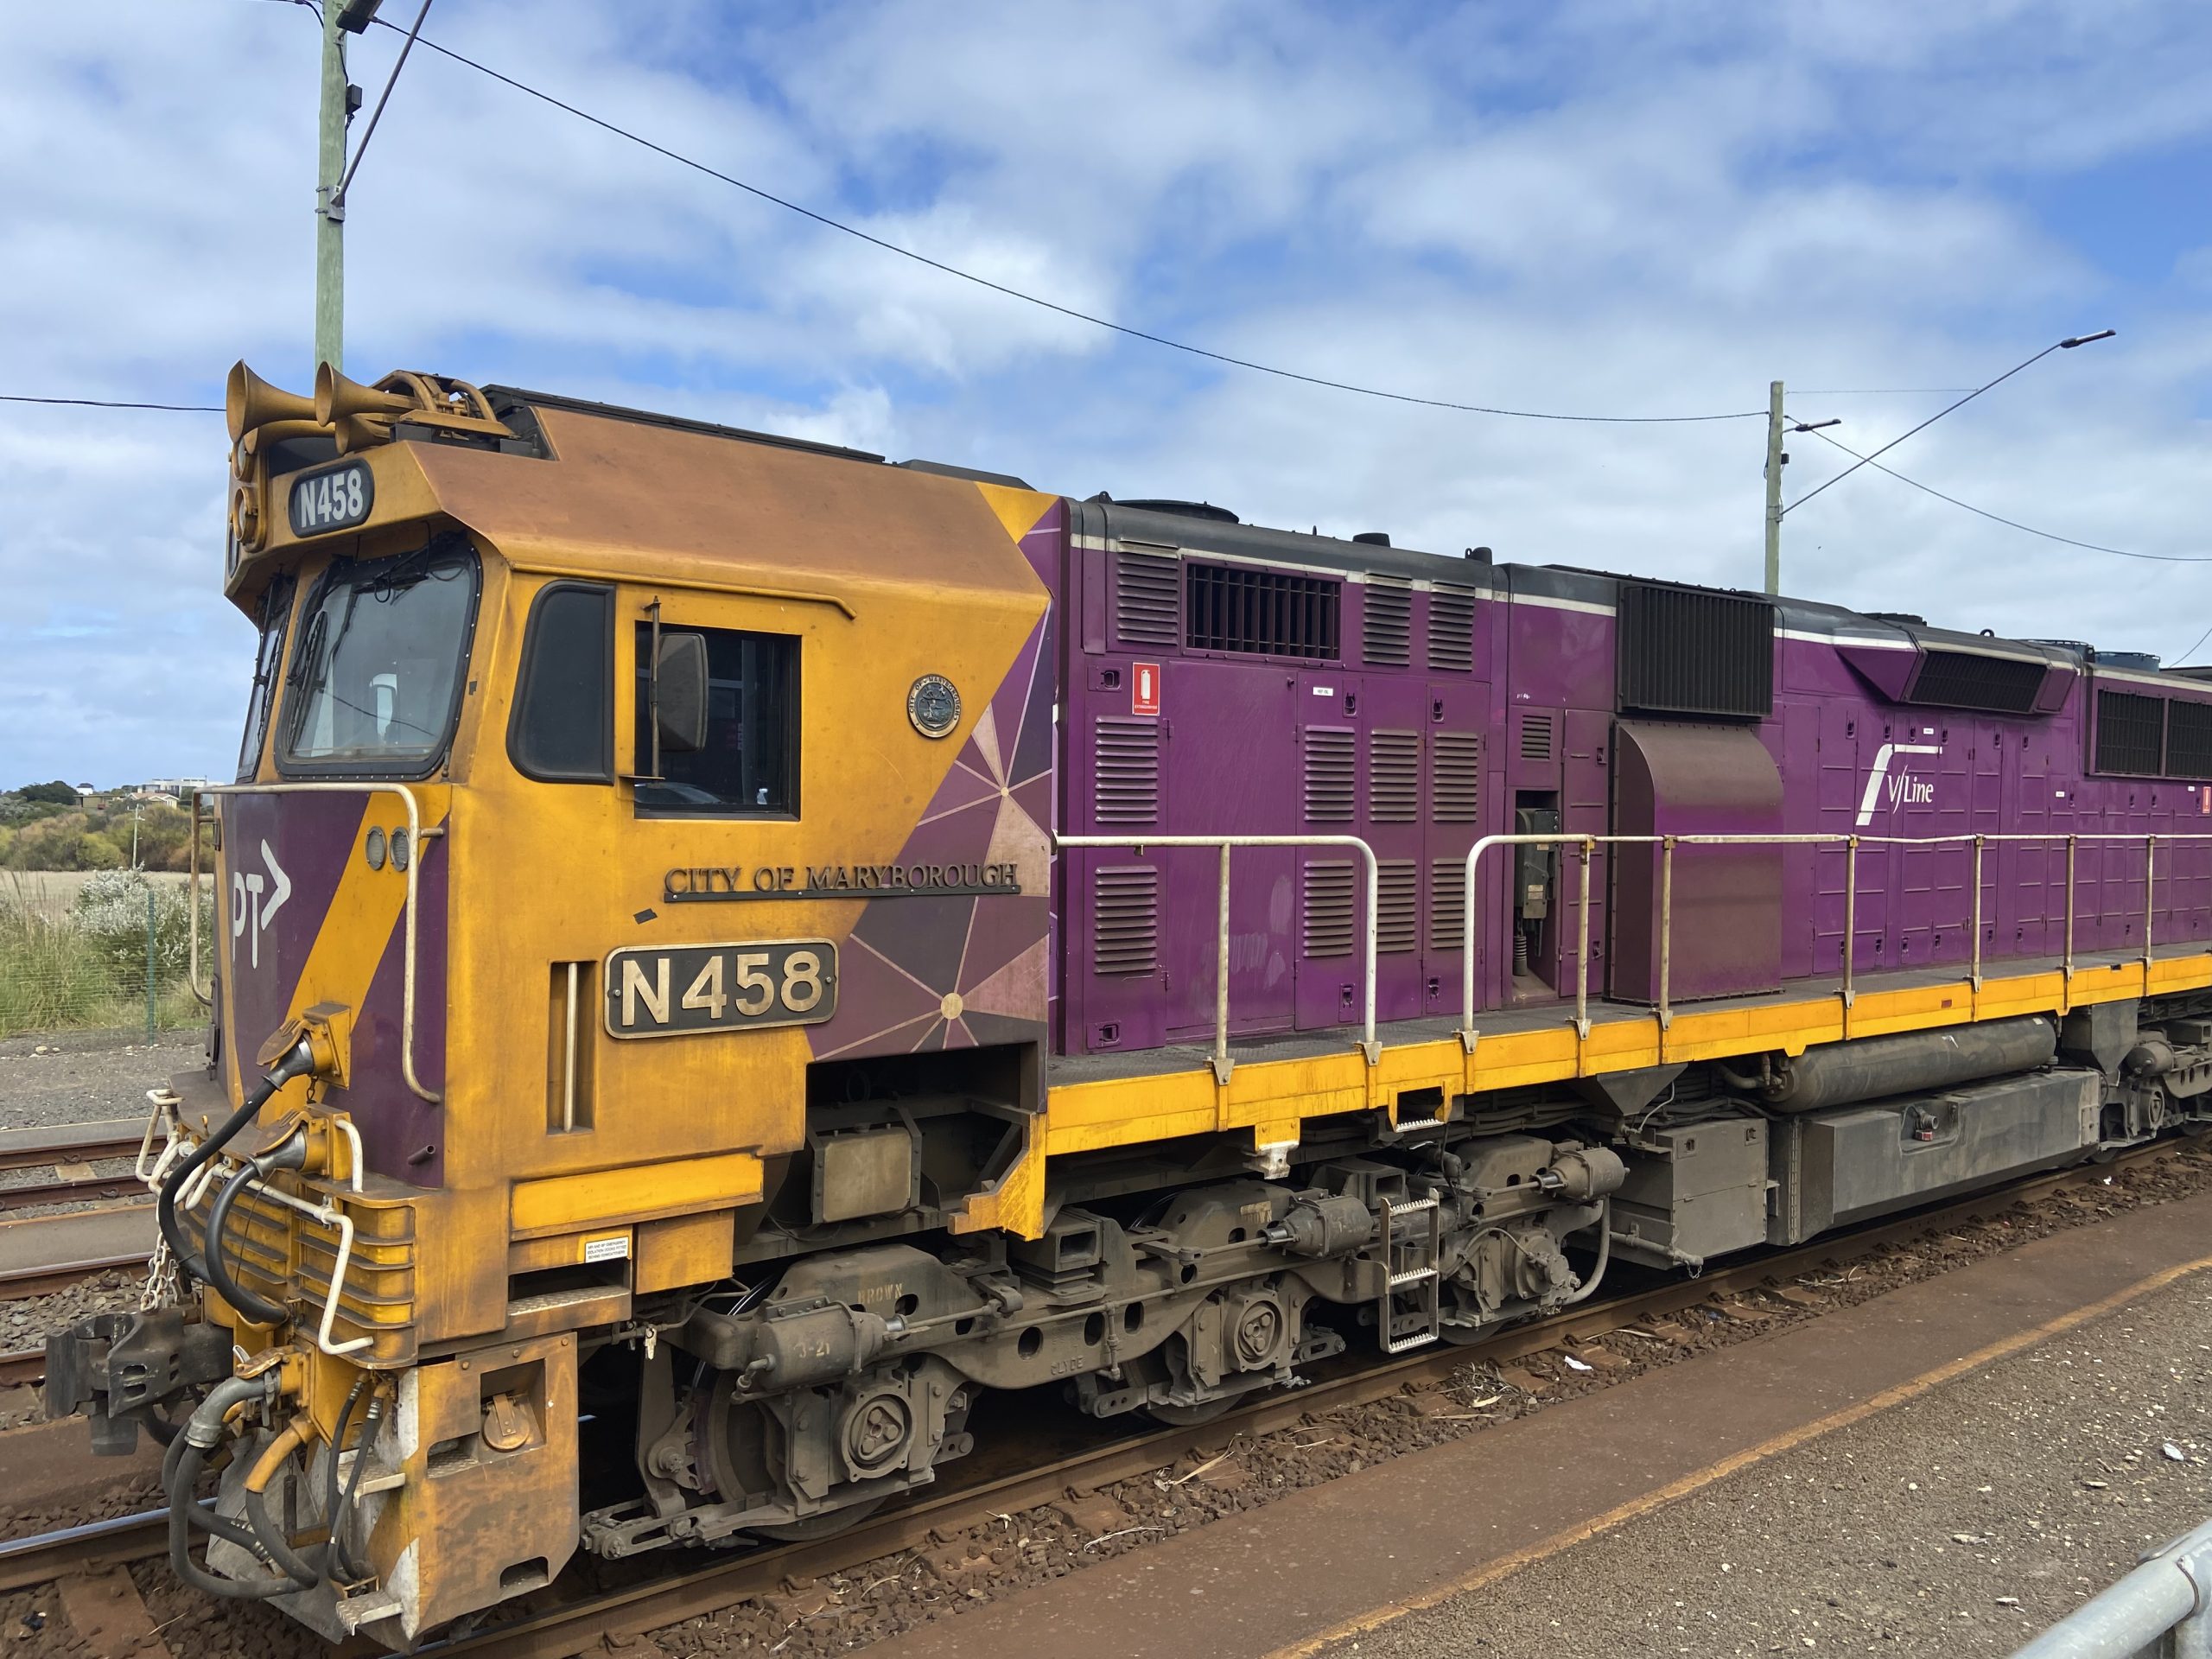
This alternative viewpoint will allow you to have the steam train clearly in view from its side, as well as also capturing some or all of the carriages behind it.
Weather
My advice is to not let the weather put you off too much. I suggest that if the weather is not perfect, still go out with your camera and you may well end up with some good photos. You can also use certain weather conditions to your advantage. For example, if the sky has become dark after a rainy evening, the contrast of the dark sky and the white steam of a train can look simply magical. Also, keep in mind the weather could change at any time!
If you have the opportunity, try and stand in a spot with the sun either behind you or to your side. This tip will mean you have the best light for your photos and it will help you avoid issues with shadows ruining your pics too.

Railway Photographers’ Rule
Always be respectful to your fellow photographers. Never go and stand directly in front of another photographer-if they were at that spot before you, respect that. Just imagine how annoyed you would be if you were at a spot first and someone came and stood right in front of you!
Camera Settings
The following settings are what I tend to use when photographing a steam train on the mainline using my Canon 5D MKIII:
Shutter Speed
The speed of the train will dictate what shutter speed is required. For example, if the train is climbing a bank then it will not be moving that fast so I would opt for a shutter speed of around 1/500 to 1/1500.
F Number
If possible, I use F8 or F10. I find that using one of these options will give a good, sharp focus on most of my photographs. If you were to use F2.8 as an example, you would find that only the front of the steam loco will look sharp.
ISO
Which ISO number to use depends on what the weather conditions are like. If it is a nice sunny day I would set mine to around 400, if however there was no sun and it was dull and cloudy, I would set it to whichever number would provide me with the right shutter speed I wanted to use. If you do use a high ISO you will probably start to noise showing up in the photographs.
Al Servo
AI Servo will track focus on any moving subjects. As the train gets closer to you the camera will constantly update the focus and will try and keep it as sharp as it can. You do need to put your centre focus point on the front of the train.
Drive Mode
It is best to set your drive mode to ‘high-speed continuous shooting’. The more shots you take the better the chance of getting a perfect photograph.
Focus point
I tend to use either the Single focus point or the AF Expansion focus point to put on the front of the steam loco. If you use a different focus point it might focus on something else rather than the train.
Type of Lens
The lens I use the most for railway photography is the Canon 24-105mm. Using any zoom lens will give more flexibility to your photograph.
Tripod
Using a tripod is entirely up to you, I never use mine for railway photography as I find it easier to move around without it at my chosen location.

Conclusion
All of the above represents how I take photographs of steam trains on the mainline here in the UK. I am happy with the camera settings that I use although I am sure some people will say they are not right! Ultimately, I think practice is very important, especially if you are new to photographing steam trains. A great tip if you want to capture some brilliant steam train photographs is to practice shooting diesel trains a good few weeks before the steam tour is due.
Colin Wallace specializes in taking railway photos on the mainline and heritage railways in the South West of England. Visit his website Railway Photos to find out more and see more of his work.
What’s YOUR top tip for taking a great photo of a steam locomotive?
The post Steam Train Photography Top Tips appeared first on RailwayBlogger.

