As the year slowly draws to an end and thoughts once more return to how many days there are left until Christmas, I thought it was about time I broke ground on Bryn Nadolig and got to work cutting the foamboard that will form the basis of my namesake Christmas layout.
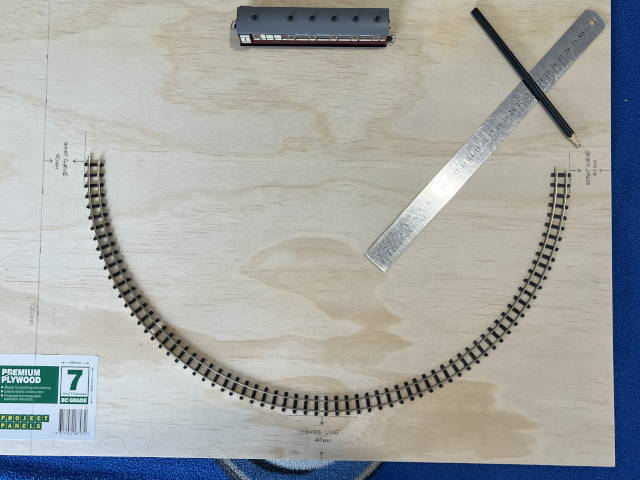
To start this long overdue project, I made a paper template by sticking together sheets of A4 copy paper and cut it to size to fit on the inside radius of my curved track. Then, by placing my longest piece of rollingstock on the track I could hold a pencil at an angle to the passenger car and trace onto the paper what will become the outline of my rock cutting formations.
 |
| This was my first idea for a winding laneway carved into the incline of the hill. |
The paper template could then have a quick layout design sketched out to see where the foamboard would need to be cut to create the second layer, and for this part of my project, my little OO9 Welsh Highlands layout board was lugged down three levels of stairs into our garage.
 |
| The corner sections were cut from 30 mm x 11 mm primed FJ pine to match the layout frame. |
Being mindful to keep this little layout looking like a piece of art, I used some 30 mm wide x 11 mm thick pre-primed finger-jointed pine timber to build-up the corner sections and keep the finish matching with the layout’s edges. The outside of the cutting was then filled with two triangle offcuts of the extruded foam sheet that were cut to shape.
 |
| Everything was then given a test fit to ensure I was happy with the outline of the hill. |

Originally, I planned to make the corner sections offset in opposite corners of the layout. However, I needed to also fashion a hollow section that will house the DCC socket and the motherboard that protrudes behind it. For that I had to unscrew and remove the DCC housing from my Philden Beach layout to measure, build and test fit how I would safely incorporate this as part of the corner design.
I’m glad I did. It was only by doing so that I realised the DCC panel would be better situated towards the front of the layout. I then decided to position both corner sections on the same facing side of the layout.

I could then cut an oversize access hole for the wires to feed into the unit from beneath the layout and ensure there was enough airflow to prevent the DCC board from overheating. I don’t know if they are prone to, but I’ve had no issues from leaving ample space around mine on Philden Beach, so why take the chance.
My main goal was to keep the DCC plate neat and flush with the corner timber frame, and by leaving some of the plywood sheet to rest below the main body of the unit, it will have ample protection from stray hands whenever the layout is picked up and moved.
 |
| Out came the good ol’ Gorilla Glue to fasten the DCC corner module in place. |
From the timber offcuts I was able to fashion a sturdy corner box to house the DCC panel. With the timber strip being only 11 mm thick, I simply fastened them in place with Supa Glue. When dry, I could then backfill the corner section with offcuts of foamboard and fasten them in place with Gorilla Glue. This provides more than enough strength for the corner sections and for when it comes time to contour shape the hills. It’s a method I outlined in greater detail in my book Model Railway Scenery Secrets.
 |
| The slabs of foamboard were then Gorilla Glued in place… |
 |
| …and then weighted down with anything heavy I could find. |
 |
| The result looks like cake layers for now. But in my next post I will shape the rock cuttings. |
With some spare time now on the horizon, I next plan to terraform the foam into rolling hills and rock cuttings, wire the layout and test run the first train. Only once trains are up and running on Bryn Nadolig will I feel confident enough to make a call on Philden Beach’s future.
Untill next time…
See also; The Violalackeslip layout frame and Sticking with my plan